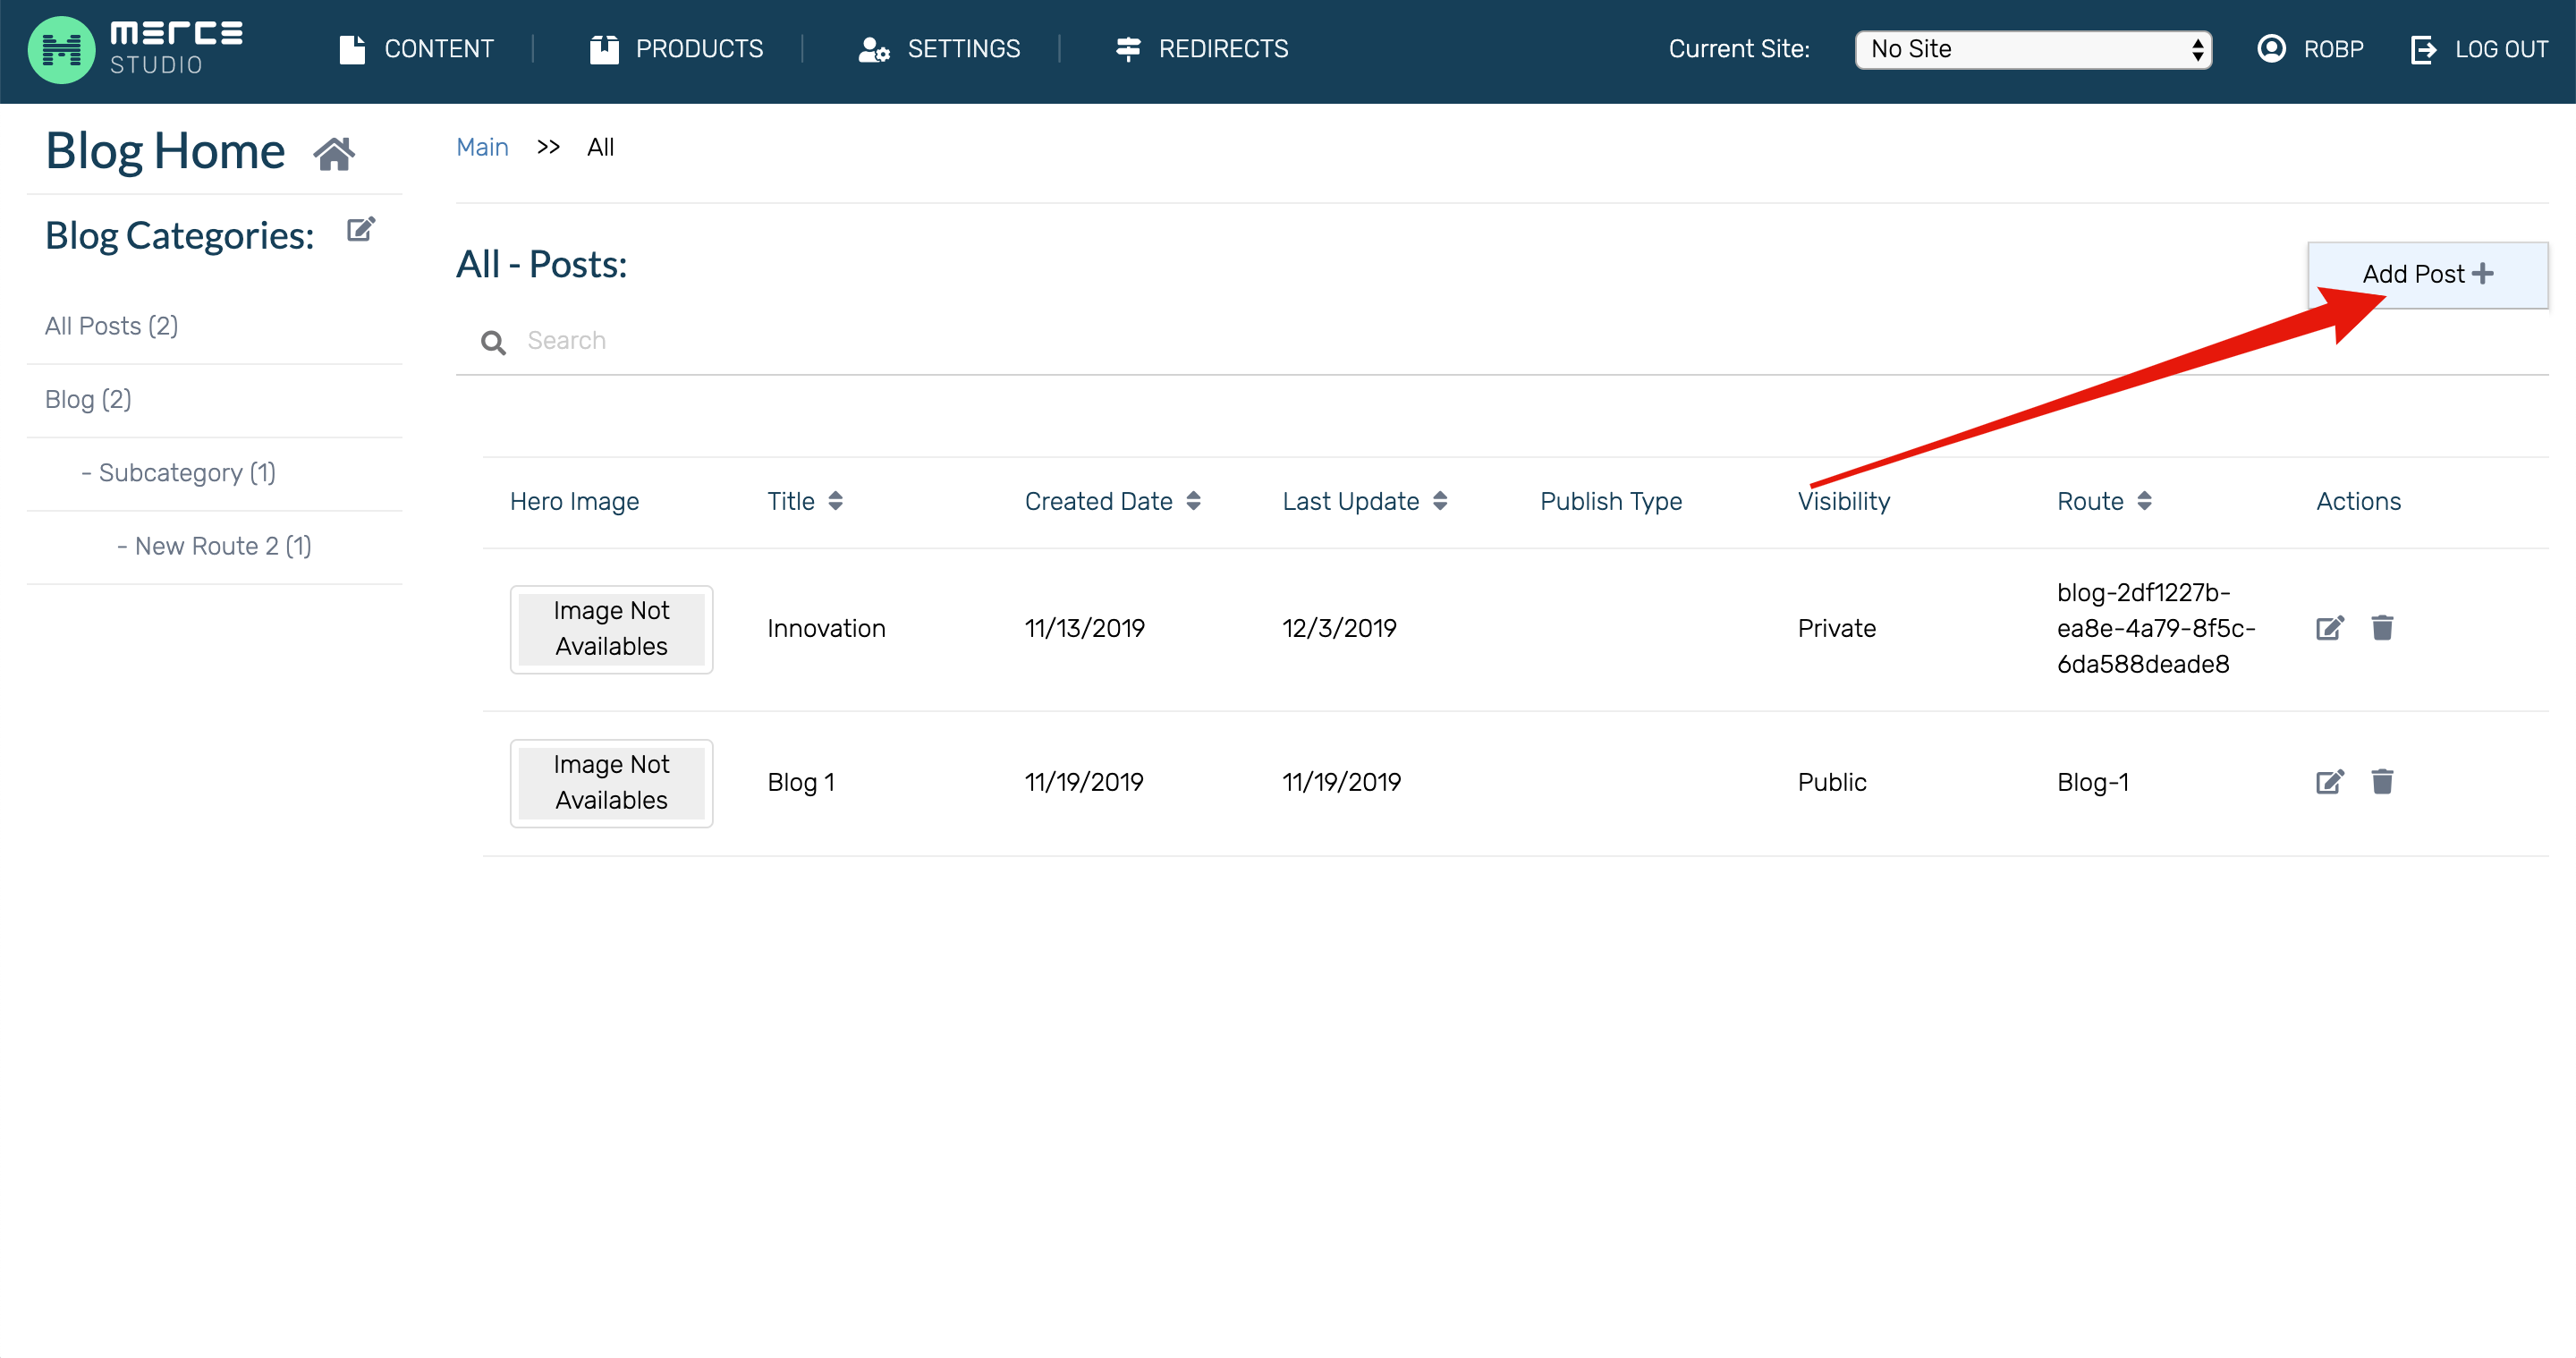
To edit your Blog, select the Blogs icon in the upper toolbar. Here you can create, edit, and publish your blog posts. You can also add and edit blog categories in the toolbar.
To view and edit the blog landing page click Blog Home at the top of the left toolbar. The landing page of your blog can be edited just like the other pages with content.
Creating a blog landing page
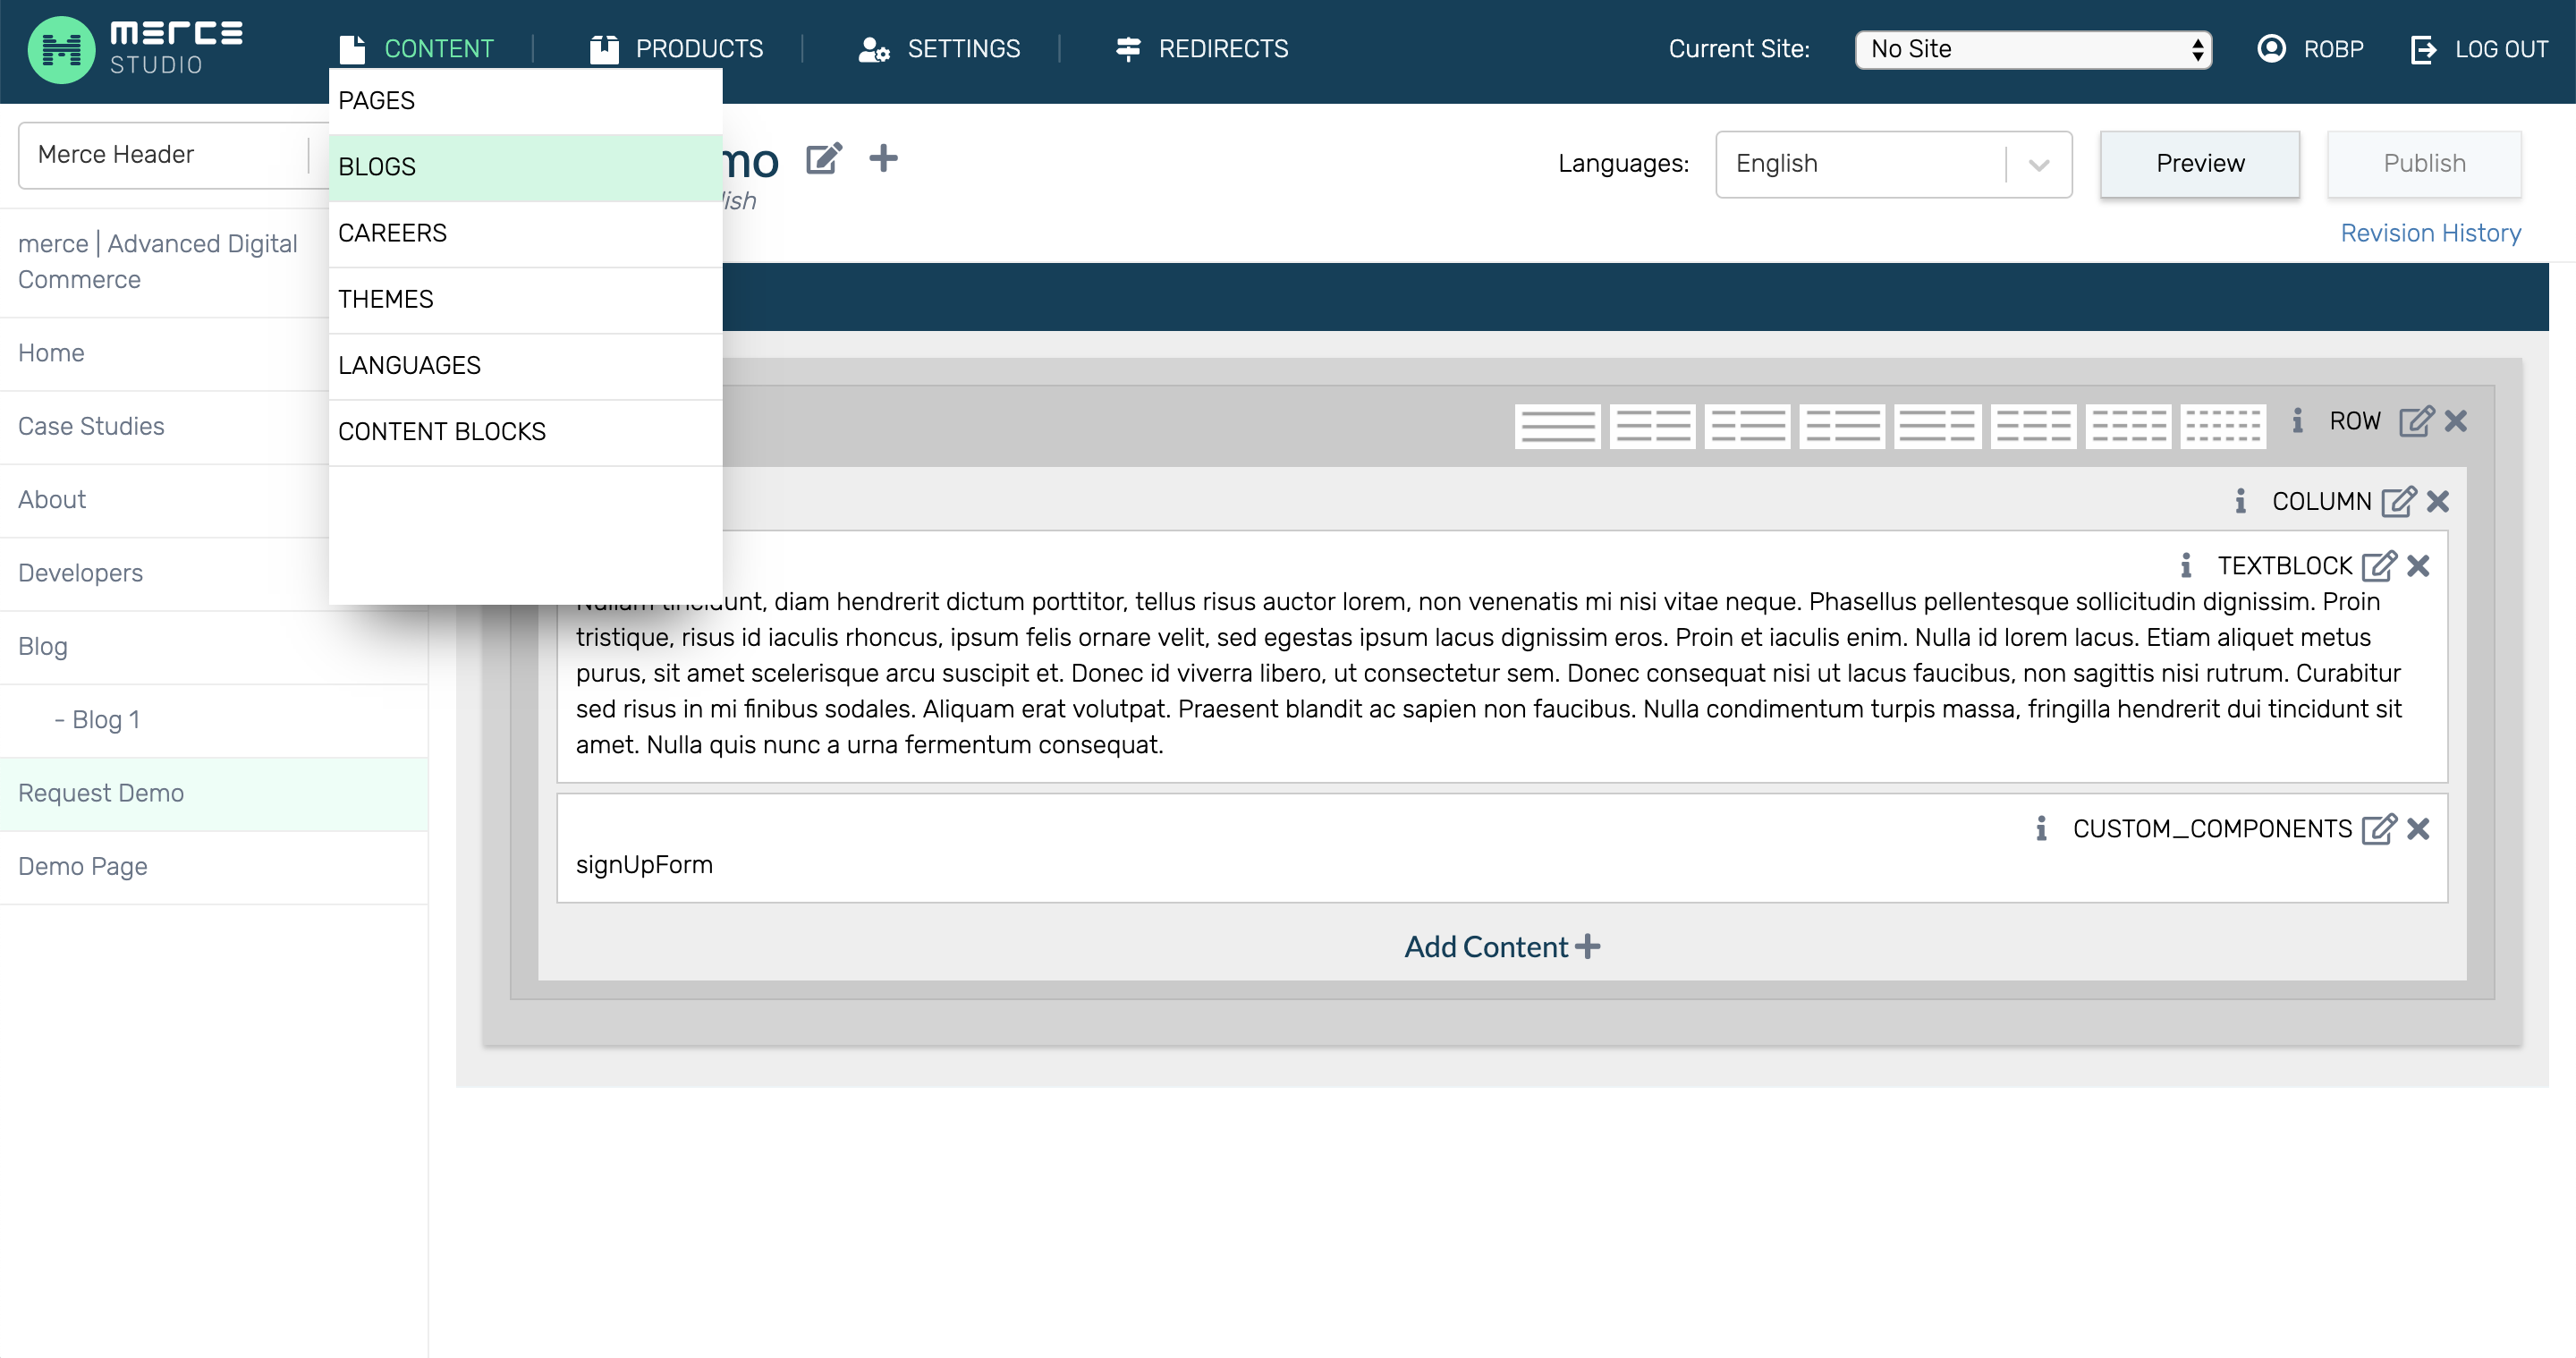
To add your blog posts to any page on the Blogs or Pages apps, simply use the Dynamic Content Block Renderer content type.
Click Add Content on the page you would like to place your blog in the desired location.
Click Add New and select Dynamic Content Block Renderer.
Under block type select Categories.
Under Category IDs, select the Blog Post that you would like to place
Click Save.
Adding and editing blog posts
Creating a post
To add a new blog post click Add Post + to bring up the Add/Edit Blog Post Options. From this page, you can add a title, route, and category for your post.
To add a thumbnail, insert an image URL into the Thumbnail field. To insert a banner image on the blog post, enter the banner image URL into the Banner image field.
To add the text of your post, insert the text into the blog post. Format with HTML tags.
Editing posts
To edit your blog, select Blogs from the upper toolbar. From there you can view edit your blog landing page. By selecting All Blog Posts on the left toolbar, you can view all your posts, current and upcoming.
Publishing posts
To publish your blog post immediately, select Immediate in the Publish dropdown of the Add / Edit Blog Post menu box. To schedule a post for later, select Schedule in the dropdown and enter the desired publish date and time.
Blog categories
To begin creating your blog, add a blog category in your product categories:
Go to the Products app
Click the **Meta ** icon in the toolbar
Click Categories in the configuration items
Add a new category with the Add New Category Trees button in the top right corner
Enter a title for your Blog Category. We recommend naming it “Blog”
Your category will now be displayed in the toolbar of the Blogs app.
If you want to categorize your blog posts further, simply add a new category to the Blog category tree.
Click the Edit icon in the toolbar next to “Blog Categories.”
Click the + Button on the category you would like to give a subcategory.
Click on the subcategory to rename it.

Changing blog post categories
To create categories for your blogs, create a new blog page. On the blog home page, select the Edit icon on the left toolbar. To add new categories, click Add+. Drag and drop the new category to the desired location in the site map.
Renaming blog post categories
To rename the category, click Save and then select the new category in the left toolbar. Click the Edit icon next to the current name to change the name and bring up options